|
|
Skill level: intermediate - Presumes
basic knowledge of Blender interface including changing windows,
adding materials and textures and adding objects.
Introduction: Part 1 of this tutorial will demonstrate how to create
basic cartoon eyeballs in Blender Creator 2.23 and deform the
eyeballs with a lattices. Part 2 will address the use of tracking to
control the eye movements and the use of lattice relative vertex
keys as well as animating blinks. |
|
| Part 1A:
Create the eyeball and eyelids
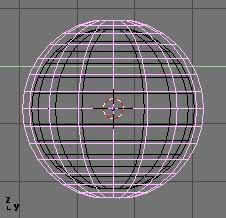
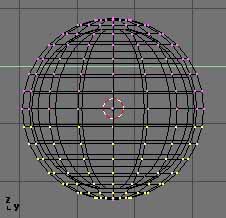
Begin in the 3D window top view (Numpad 7)
and add a UV sphere. (SpaceBar-Add mesh UVsphere-16 segments-16
rings-OK)
Note: When adding objects in the top view,
the objects axis will be oriented the same as the global axis. this
is helpful when adding textures as they will be placed on the z axis
of the object.
|
|
|
Tab Key out of edit mode
Switch to side view (Numpad 3)
Select sphere and duplicate
(Shift-D)
Scale (S-Key) slightly larger than original
sphere. |
|
|
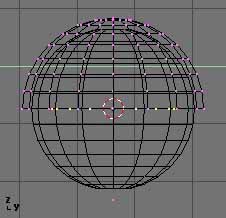
Tab Key into edit mode.
Select bottom half of sphere verticies below
mid-line with bounding select tool (BKey)
Delete verticies |
|
|
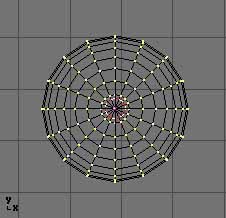
Select bottom row of verticies
Extrude (E-Key) and scale (S-Key)
down
Tab Key out of edit mode |
|
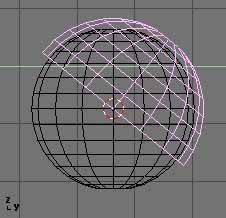
| Rotate
(R-Key) sphere half about 45 degrees |
|
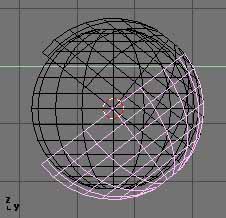
| Duplicate
(Shift-D) and rotate (R-Key) duplicate half sphere. |
|
| Select and
rotate the original sphere 90 degrees |
|
|
Part 1B: Set up Lattice
Deformation
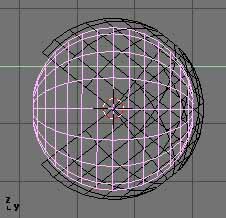
Change view to front (Numpad 1)
Center cursor on object (Shift-S, then select
Curs-Sel from menu) |
|
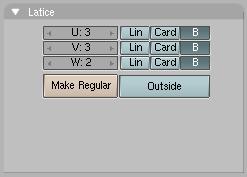
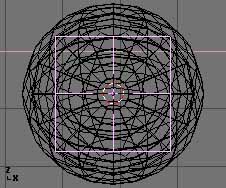
| Add a
Lattice
In Edit Buttons set U:3 and V:3 (See image
below) |
|
|
|
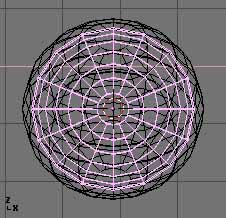
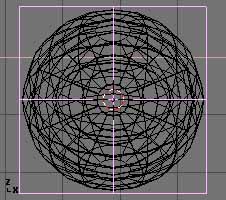
| Lattice
should now look like this |
|
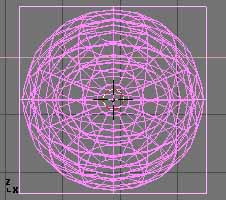
| Scale (S-Key)
Lattice to surround eye |
|
|
Select eye sphere and eyelids, then select
Lattice (Additive select by holding Shift Key )
Parent eye sphere and eyelids to lattice
(Ctrl-P)
|
|
|
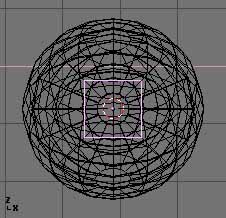
With lattice selected Tab Key into edit
mode.
Test lattice deformation by selecting a group
of verticies and moving them. Notice how the eyelid remains
conformed to the eyeball. |
|
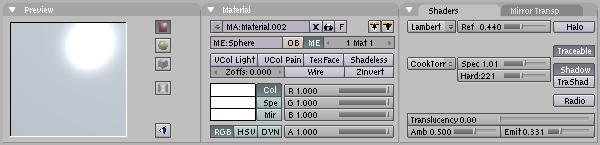
| Assign the
sphere a material in the material buttons window (F5 in the buttons
window) Set the material to white by dragging the RGB sliders to
1. Note settings for Spec, Ref, Hard, Amb
and adjust to suit your needs. |
|
|
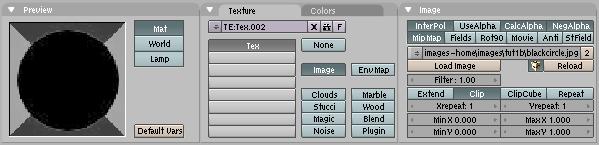
| Assign a
texture to the material (F6 in buttons window). Click Image button,
then Load Image button. Load blackcircle.jpg. Then, be sure to click
CalcAlpha, NegAlpha and Clip buttons. |
Use this JPEG image for texture
 |
|
|
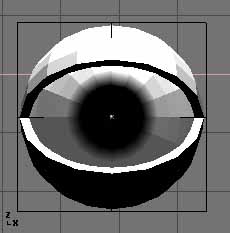
| Return to
Material Buttons and scale down texture by increasing the SizeX and
SizeY values to 2 |
|
|
|
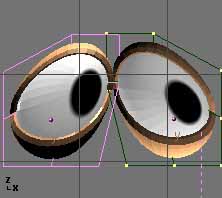
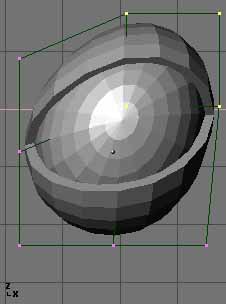
The eyeball should now look like
this.
Select the eyelids and give them a color
and/or texture.
Select each object and "Set Smooth" in Edit
Buttons Window.
You may also wish to activate Subsurfacing in
Edit Buttons Window to smooth the eyes and Lids
further. |
|
|
Part 2: Under Construction:
Part 2: Animating the Cartoon Eye
Targeting eyeball to an Empty and Setting up
Lattice relative Keys, Setting eyelid (Blink)
rotation. |
|